


Painting your wall is sometimes easily doable for anyone whether sometimes it may need some professional touch up. Here in this article, we are going to discuss about 7 pre wall painting tips that are important.
1. Clean Up the Walls
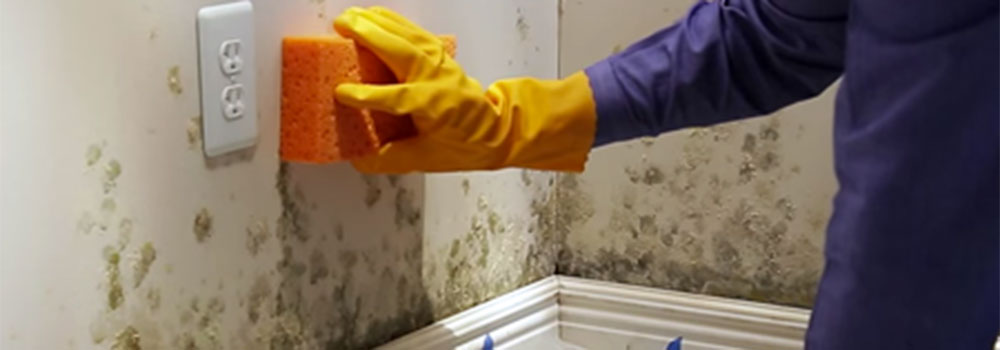
Starting to paint the walls before preparing them for the new paint is extremely unprofessional and gives off unpleasant results. Firstly, and fore mostly, you would need to clean up the walls by either using a towel or a vacuum cleaner. There could be dust, sticky residues or drip marks on your kitchen, bathroom or laundry walls which should be cleaned up before applying the new coat of paint.
2. Fill Up Any Cracks in the Wall
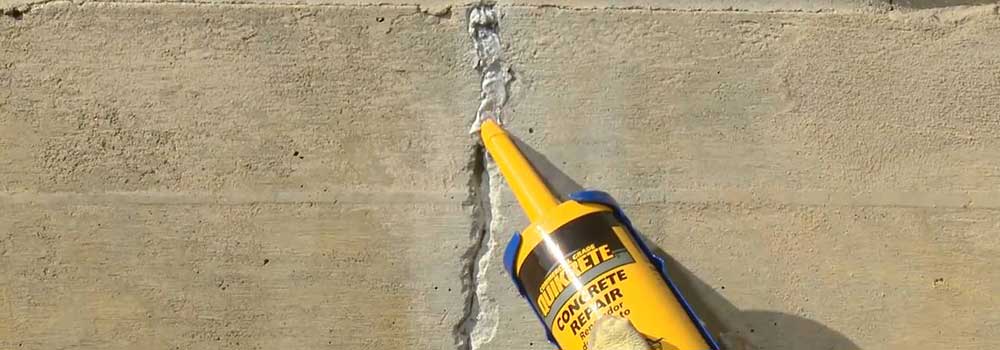
Painting the cracked walls without filling them isn’t really a great thing to do. Cracks appear around the corners of windows and between the walls when your wall paint gets older. Filling these cracks is necessary to give your walls a sleek and smooth coat. This is the top thing that all the home remodeling New York professionals do.
3. Scrape Off Old Paint
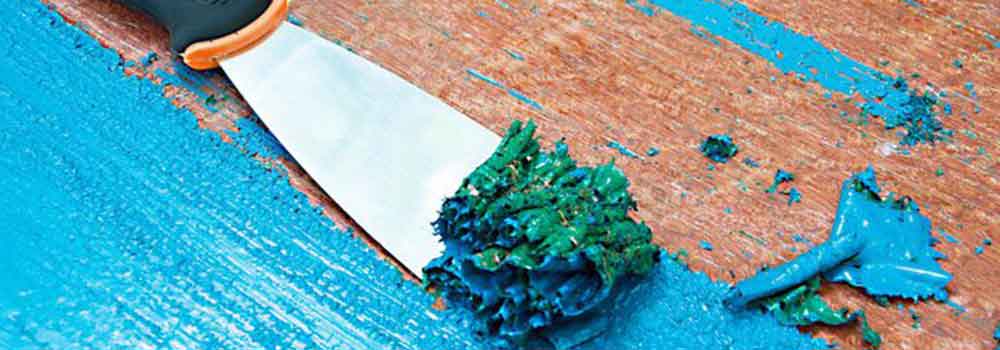
Use sandpaper or a scraper to remove flaked or cracked paint from the walls to smoothen the surface before you apply the new paint coat. This tip is also suggested by the home remodeling New York companies.
4. Tape Up the Skirting
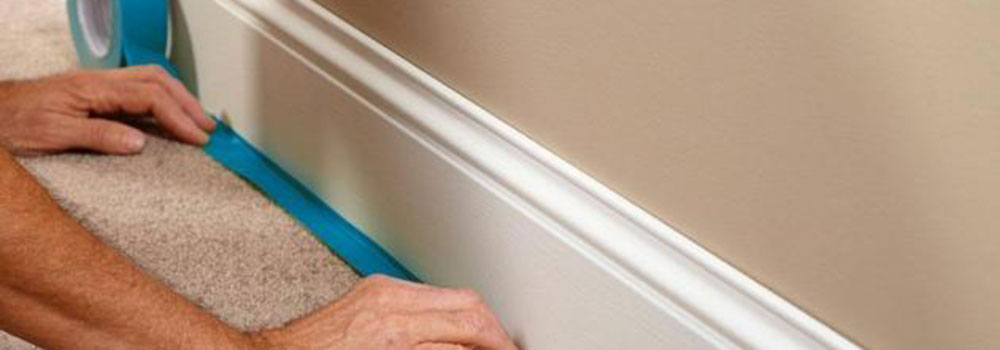
You would not want to splash the wall paint on your walls’ skirting so, make sure you cover then with the masking or other broad tapes properly. You can also tape the switchboards and windows to save them from the paint splashes.
5. Search for Hidden Flaws
Some flaws would be highly obvious on the walls of your house while some would be hidden which you can find out by using a utility light. Move the light closely to the walls and look for the flaws carefully and the ones that you find out so that you could fix all of them later. An easy way to overcome these flaws is to use a sandpaper and smooth away all the imperfections.
6. Sand Down the Lumps
If there are any imperfections, lumps or bumps on the wall or ceiling, you will need to sand it down. If you don’t sand the walls before you start, you will only enhance any imperfections and make it look worse. Sanding the walls make them perfectly smooth which will only help you in painting it in the end. Use sandpaper to grit the wall from floor to ceiling. If there are little rough patches that doesn’t require the whole wall to smooth, you can use the small mouse sander to smooth that particular surface out.
7. Use a Primer
The use of primer is suggested by home remodeling or interior painting New York services. Priming the wall can have a good impact on the paint if you intend to color over a water or glossy paint. You will end up with perfectly colored walls if you cover it with primer and apply a new coat of paint to cover up an old wall.
These are some of the pre-painting tips to ready your wall for painting perfectly.